Installing Fabric mods on your server can enhance the gameplay by adding new features, tools, and mechanics. This guide will show you how to install Fabric mods on your server step-by-step.
Note that you should have Fabric installed on your server first. If you haven't done that yet, we have a helpful article that will show you How to Install Fabric on your Minecraft Server.
Installing Fabric Mods
With our file manager, it's very easy to install mods and usually you are able to drag and drop to install the mods. In this example, we will be installing the Create Fabric Mod on 1.20.1.
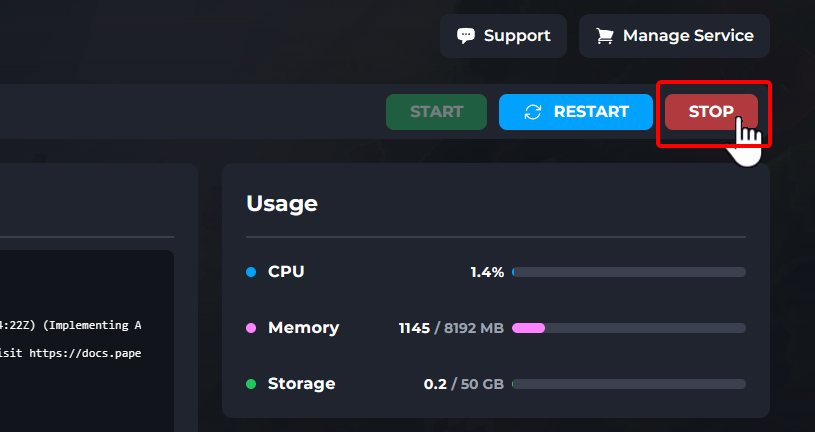
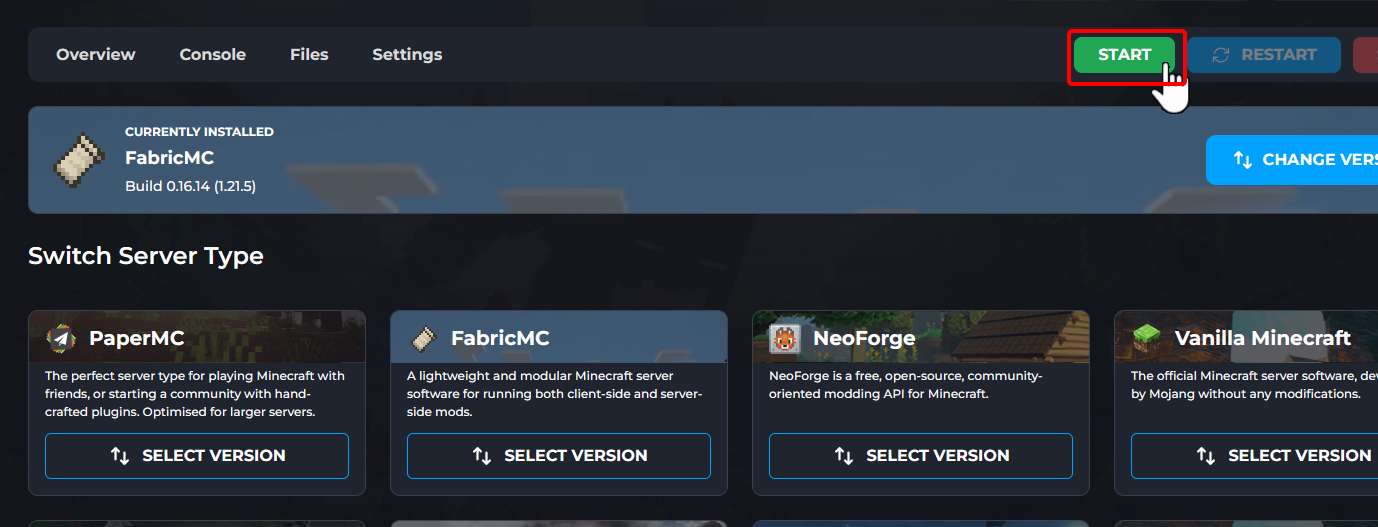
- Navigate to the Wabbanode Control Panel and Stop your Server.
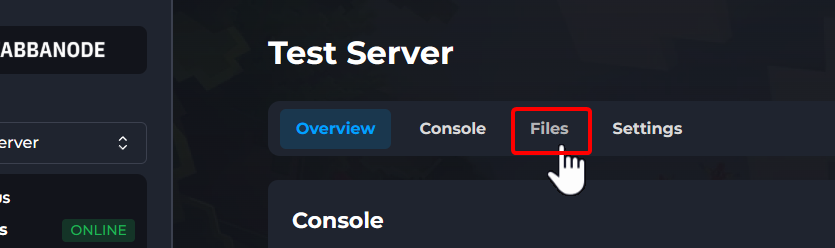
- Open your Files.
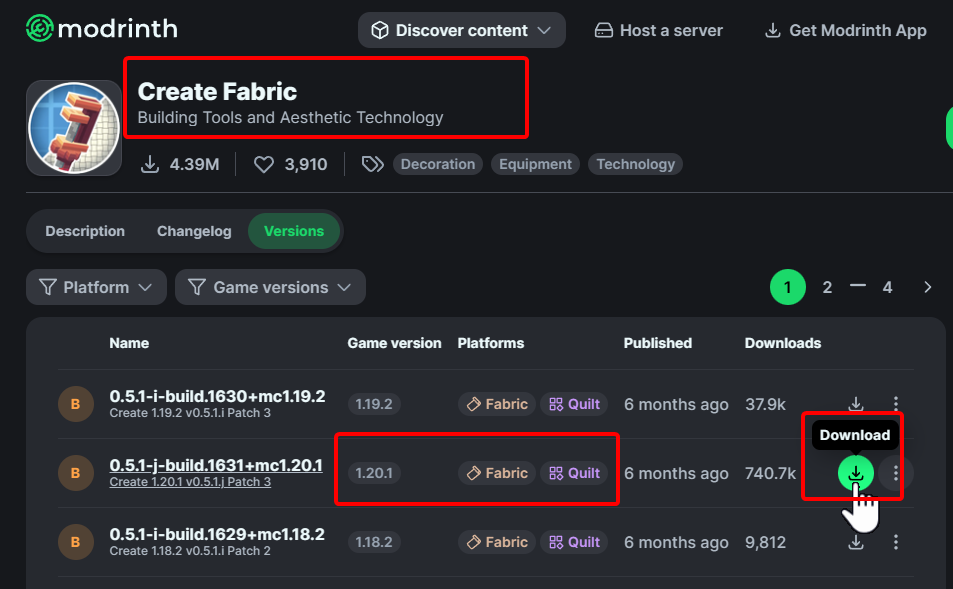
- Find the mods you want from CurseForge or Modrinth
- Drag and drop your mods into the
modsfolder. Create Fabric depends on Fabric API, so we're uploading this as well.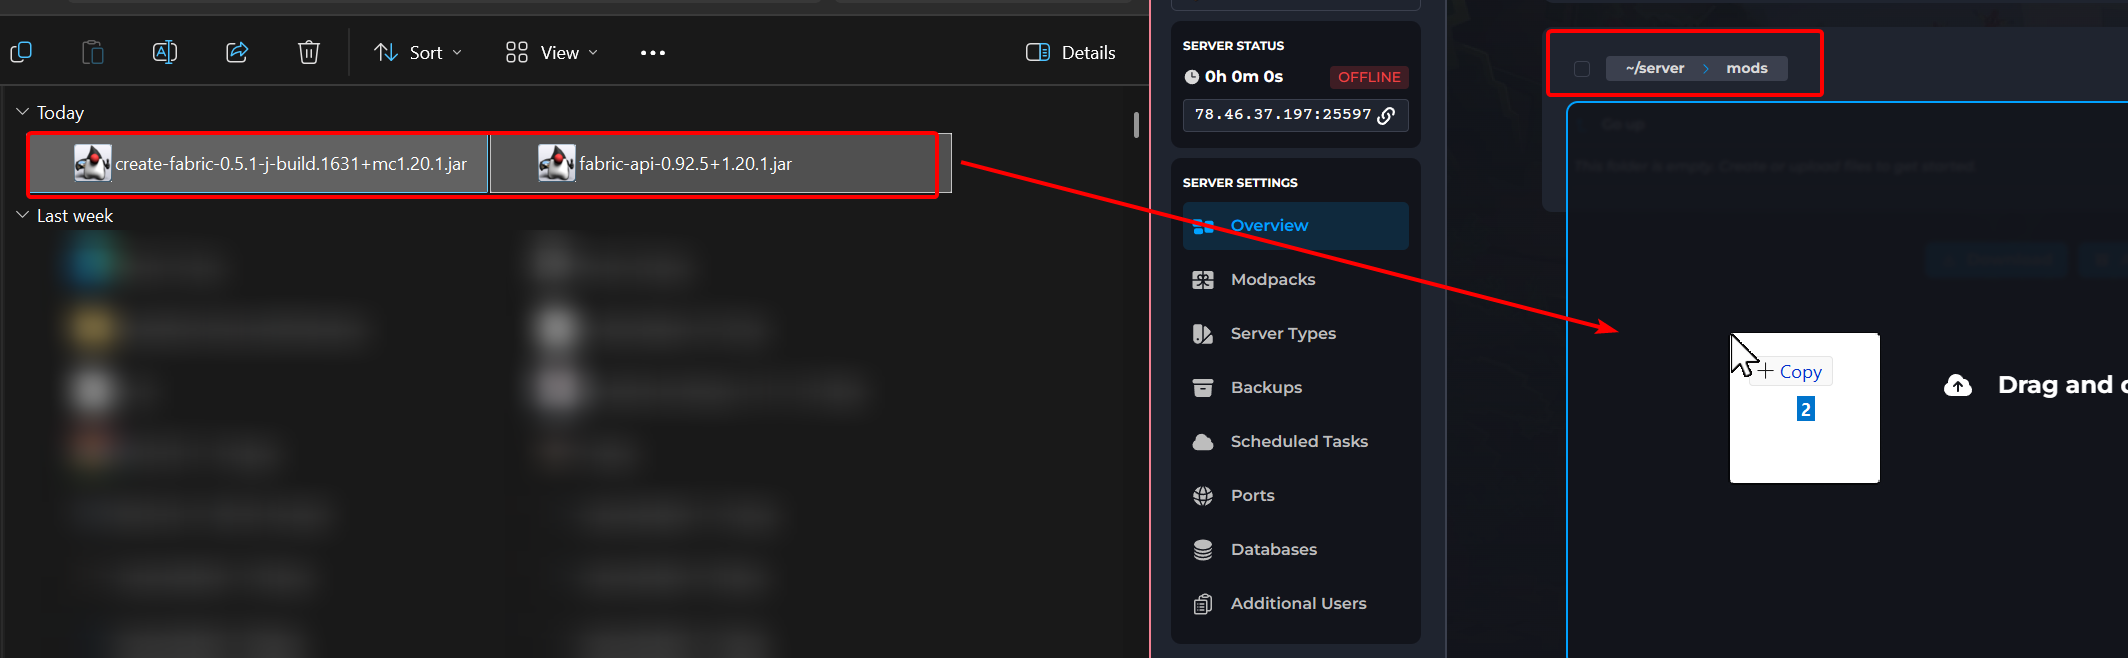
- Start your server.
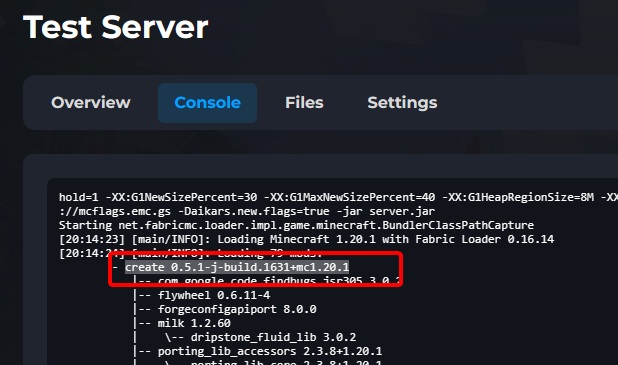
- Check the console to confirm that your mod has been installed.
By following these steps, you can easily install any Fabric mod on your server, adding new features and enhancing the gameplay for your you and your friends. It's always recommended to include the latest version of Fabric API with your server, as many mods depend on it.