Once you have BepInEx enabled on your server, you can install mods to customize your Valheim experience. This guide covers how to locate mods you've downloaded with r2modman and upload them to your server.
Before following this guide, make sure you have BepInEx enabled on your server and r2modman installed on your PC with your desired mods downloaded.
Locating Your Mods
First, you need to find where r2modman stores the mods you've downloaded.
- Open r2modman on your PC.
- Click Settings in the left sidebar.

- Click Browse profile folder to open the mod folder location.

- Navigate to the BepInEx > plugins folder.
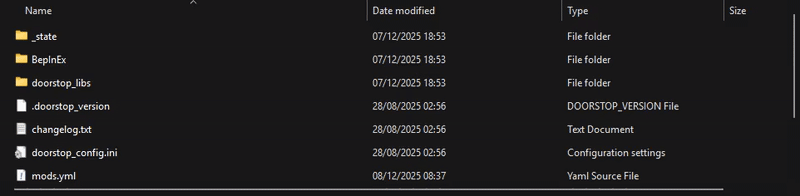
This folder contains all the mods you've installed through r2modman. Each mod has its own subfolder.
Uploading Mods to Your Server
- Navigate to the Wabbanode Control Panel and select your Valheim server.
- Stop your server.

- Click the Files tab.

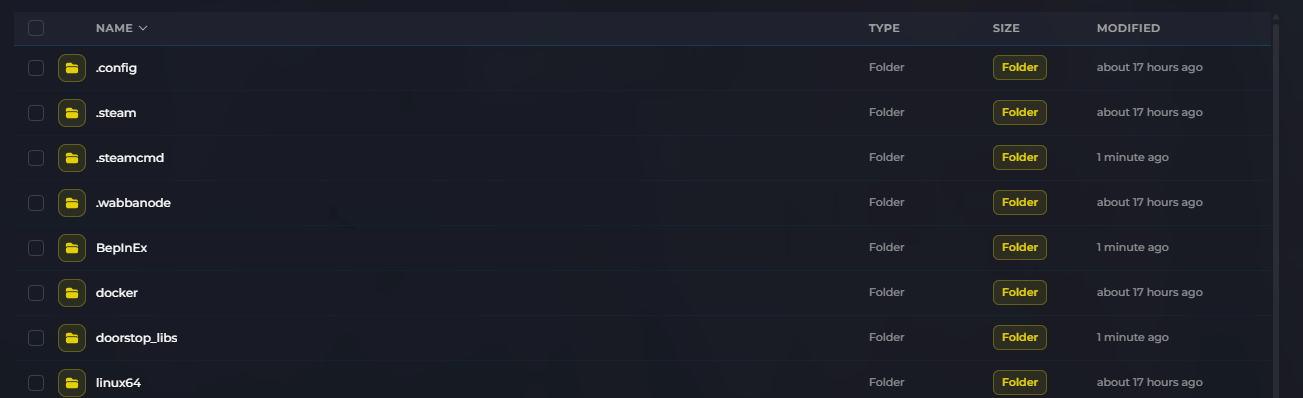
- Navigate to the BepInEx > plugins folder.
- Click Upload Folder and select the mod folder from your local BepInEx plugins folder.

- Start your server once the upload is complete.
For large mods or multiple files, consider using SFTP for faster uploads. See our guide on How to Use FileZilla for FTP File Management for setup instructions.
Verifying Mods Are Loaded
After starting your server, you can check the console output to verify your mods loaded successfully. Look for messages from BepInEx showing each plugin being loaded.
All players connecting to your modded server must have the same mods installed on their client. Share your mod list with players so they can set up their r2modman profile correctly.
Your BepInEx mods are now installed on your Valheim server. Players with matching mods can connect and enjoy the modded experience.