Frontier Legends
Getting your own Frontier Legends server up and running is the best way to play with your friends or to build a community. If you are brand new to hosting, this guide will walk you through how to purchase your first server, log into your control panel, and find all the helpful guides you need to get everything set up.
Purchasing Your Server
- Navigate to the Frontier Legends plan page.
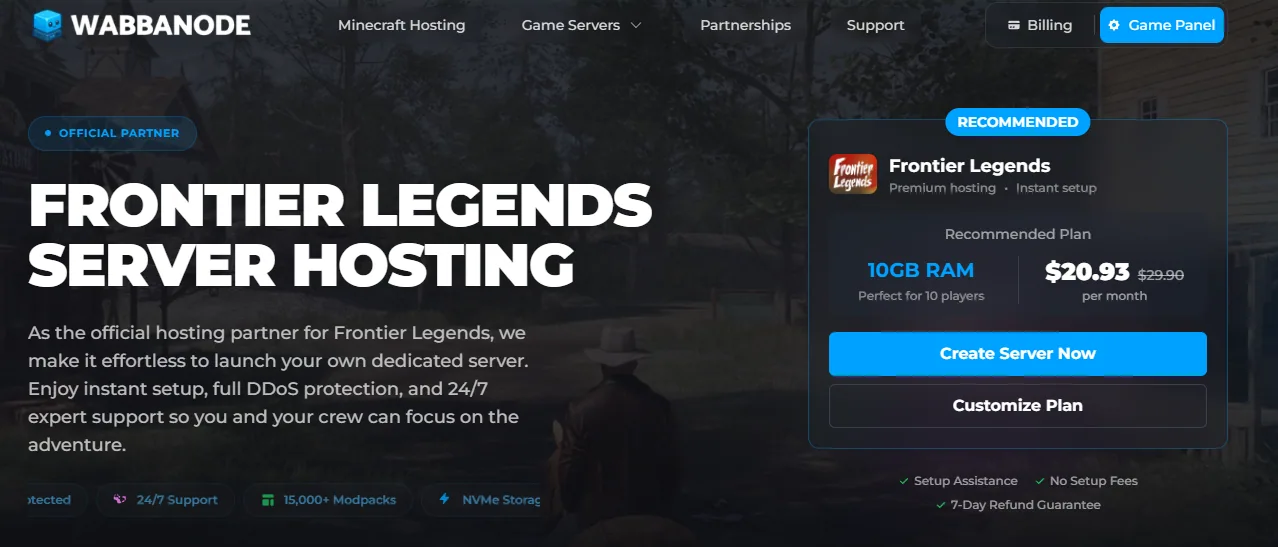
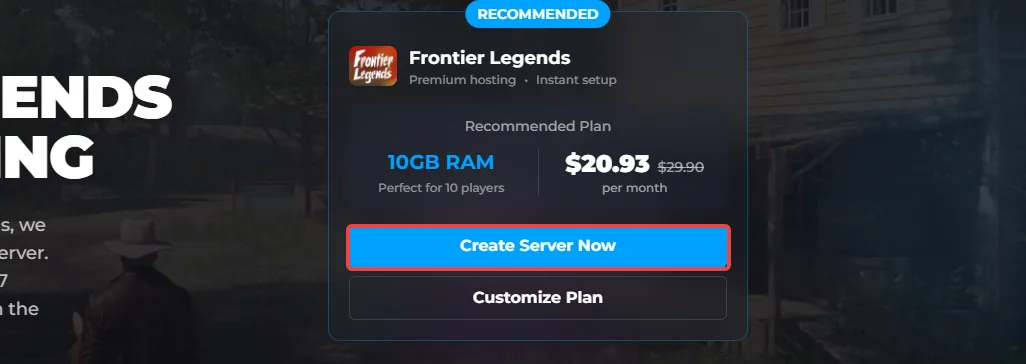
- Click on Create Server Now.
- Customise your server plan to fit your needs, including your preferred location and RAM.
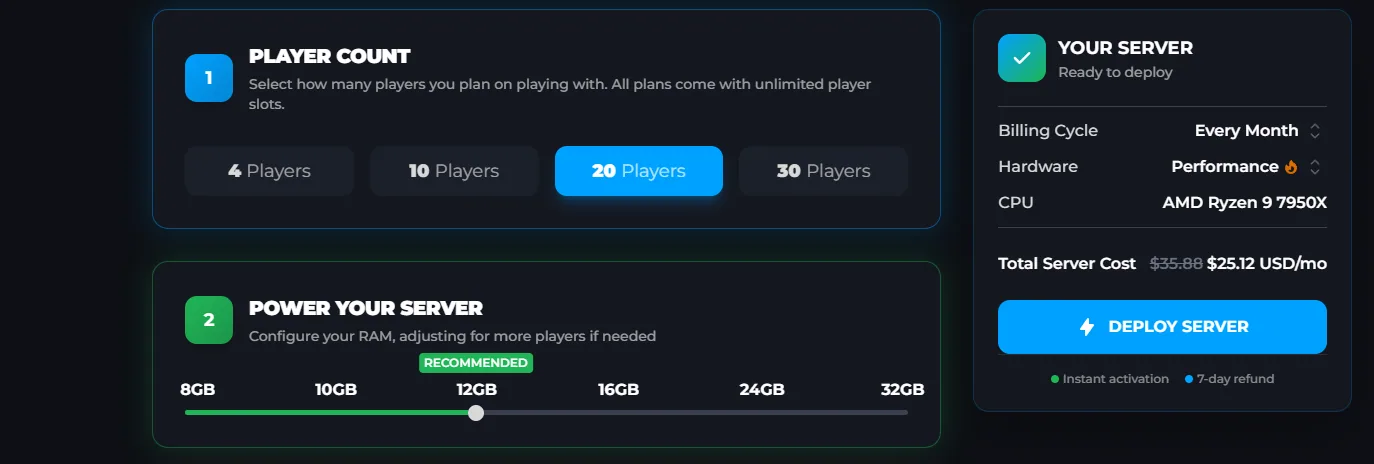
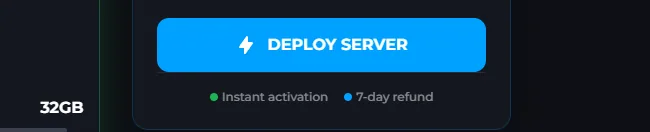
- Once customised, click on Deploy Server.
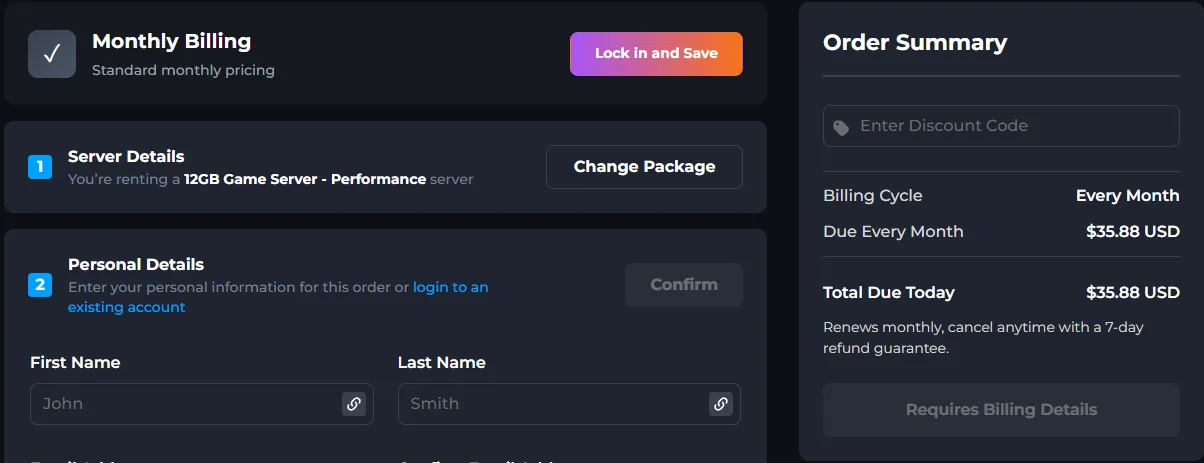
- Enter your billing information and complete your order by checking out.
Accessing Your Server Panel
- Once you have placed an order, you will receive an email with your server information.
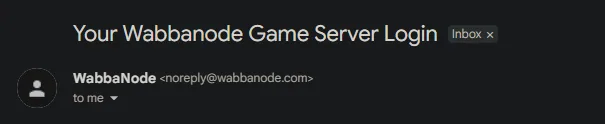
- Click on the Panel URL within the Your Wabbanode Game Server Login email.
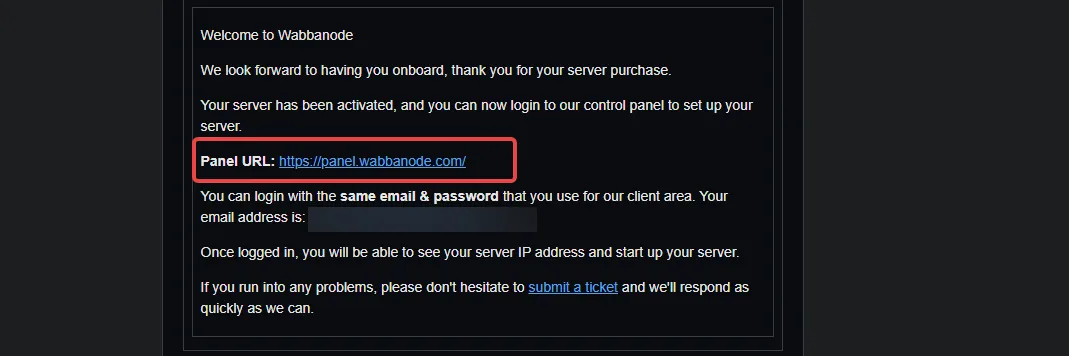
- Login with the same email and password that you use for the client area.
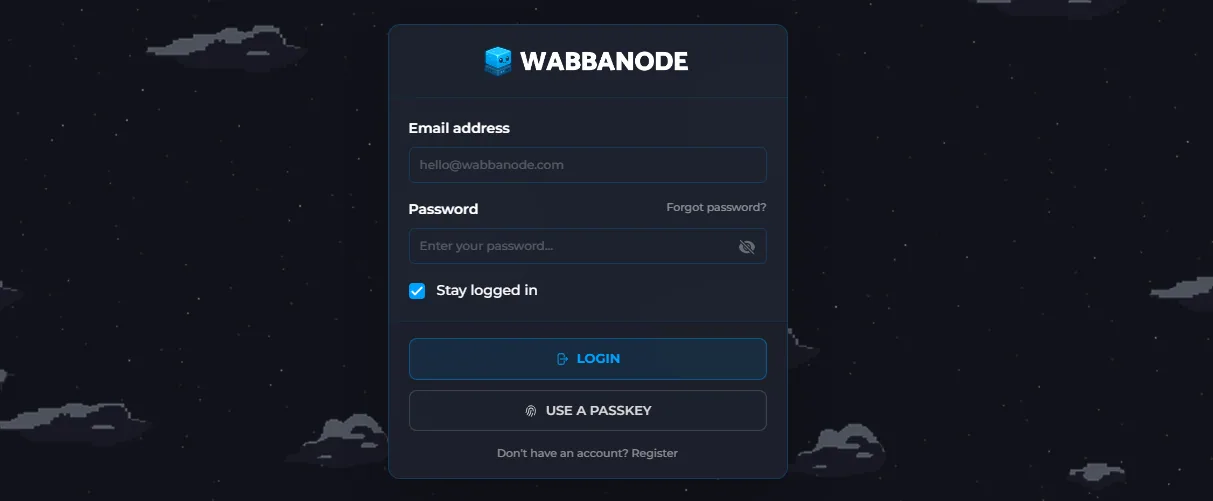
- You will be directed to your new server! If you already have a server, you can simply select your new Frontier Legends server from the server switcher in the top left corner of the games panel.
Helpful Server Guides
Now that you have access to your server, you might want to customise a few things before inviting your friends. We have created several guides to assist you with the setup of your server:
- How to Join Your Frontier Legends Server
- How to Edit Server Settings on Your Frontier Legends Server
- How to Set a Password for Your Frontier Legends Server
- How to Change the Server Name on Your Frontier Legends Server
- How to Create a New Save on Your Frontier Legends Server
- How to Upload a Save File to Your Frontier Legends Server
Tips and Recommendations
- Always make sure to stop your server before making any changes to your files or settings
- Join our Discord if you ever need extra help or want to chat with other server owners
- Need any help with your server? Make sure to contact our support team.
You are now ready to manage your Wabbanode Frontier Legends server. Enjoy exploring the server and building your new community.